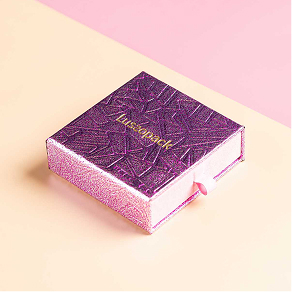
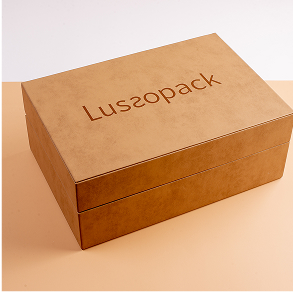
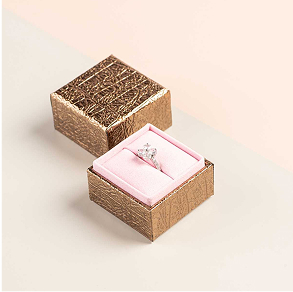
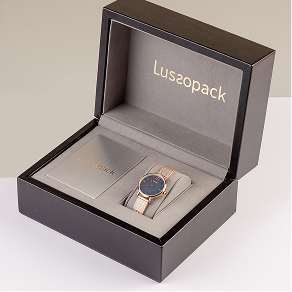
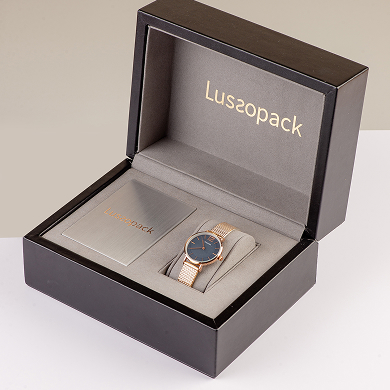
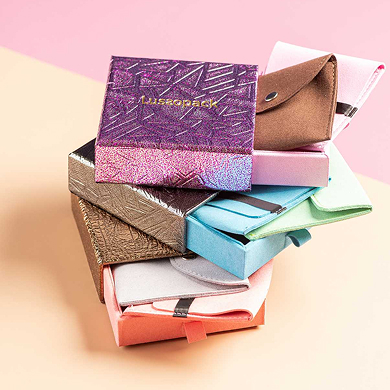
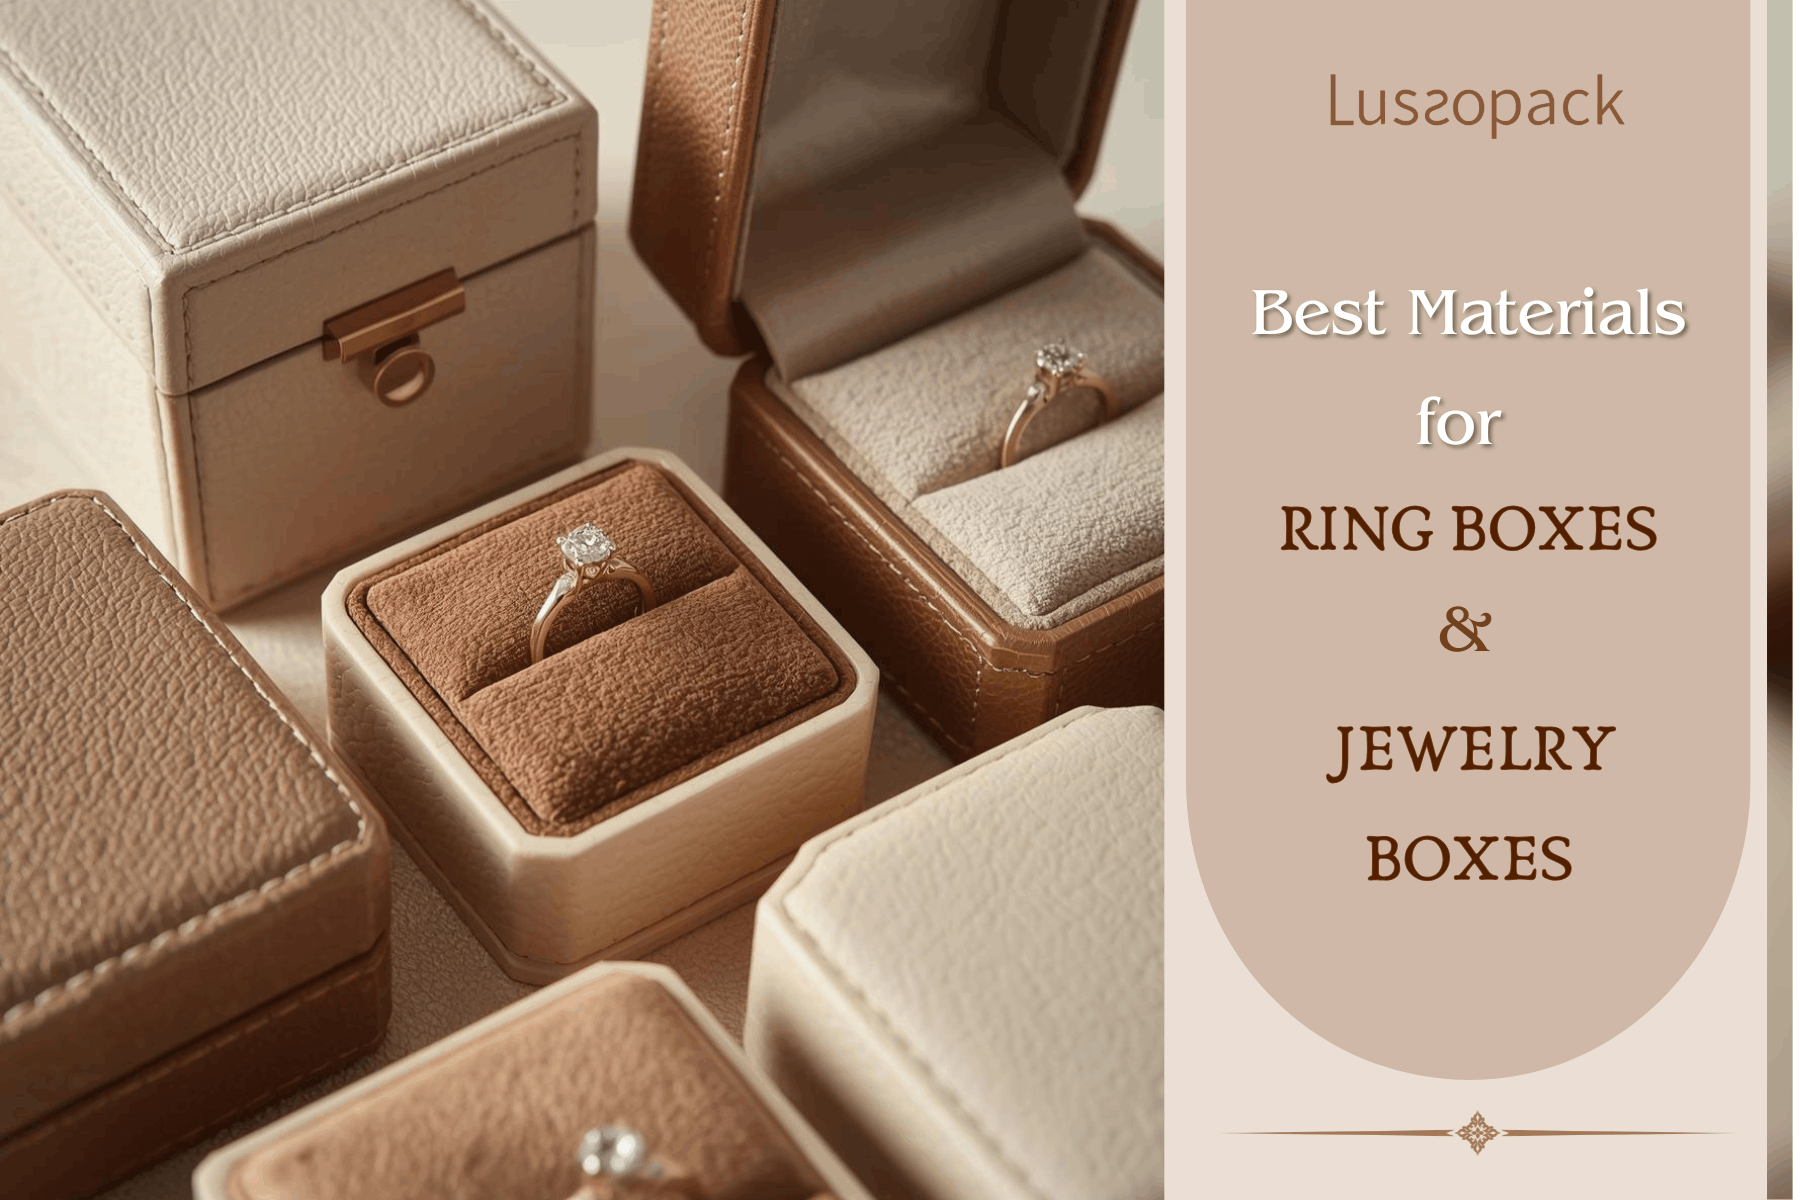
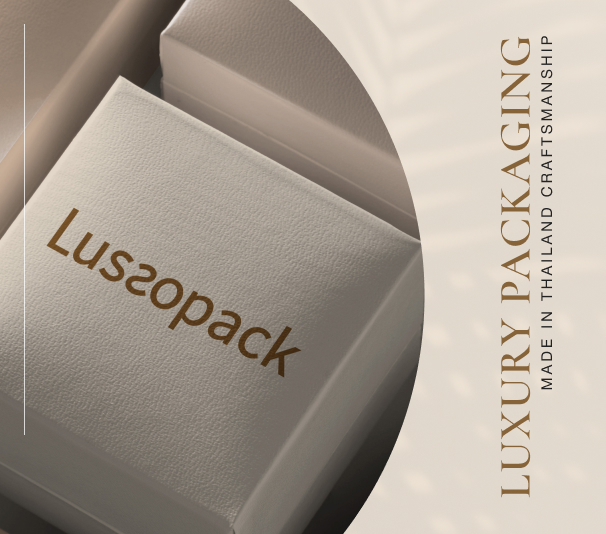
Gold foil stamping is a popular printing technique used to add a luxurious and elegant touch to various materials like business cards, packaging, invitations, and more. It involves applying a metallic foil, often gold in color, to a surface using heat and pressure. This process creates a shiny, raised effect that stands out.
If you’re interested in getting a logo gold foil stamped, here are the steps you can take:
1. Design Preparation
Ensure you have a high-resolution vector file of your logo. Formats like SVG, AI, or EPS are ideal for this purpose.
2. Select a Printing Company
Look for a reputable printer or print shop that specializes in foil stamping. They should have experience with this technique and be able to provide samples of their work.
3. Choose the Foil Color
Gold comes in various shades and finishes, from bright gold to antique gold. Choose the one that best complements your brand and design.
4. Discuss Specifications
Talk to the printer about the size of the logo, its placement on the material, and any other specific requirements you have.
5. Mockup and Proofing
Ask for a digital mockup or proof of how the gold foil stamping will look on your chosen material before proceeding with the actual printing.
6. Material Selection
Decide on the material you want to use. Common options include business cards, packaging, stationery, and invitations. Ensure that the material is compatible with foil stamping.
7. Printing Process
Once you approve the mockup, the printer will proceed with the actual foil stamping process. This involves creating a die (a metal stamp) of your logo and then using heat and pressure to apply the foil to the material.
8. Quality Control
After the foil stamping is complete, inspect the final product to ensure it meets your expectations in terms of placement, color, and overall appearance.
9. Additional Finishing Options
Consider if you want any additional finishing touches, such as embossing or debossing, which can enhance the overall look.
10. Finalization and Delivery
Once you’re satisfied with the result, the printer will finalize the order and deliver the finished products to you.
Remember that the cost and lead time for gold foil stamping can vary depending on factors like the size of the order, complexity of the design, and the chosen material. It’s recommended to get quotes from several printing companies and review their portfolios before making a decision.